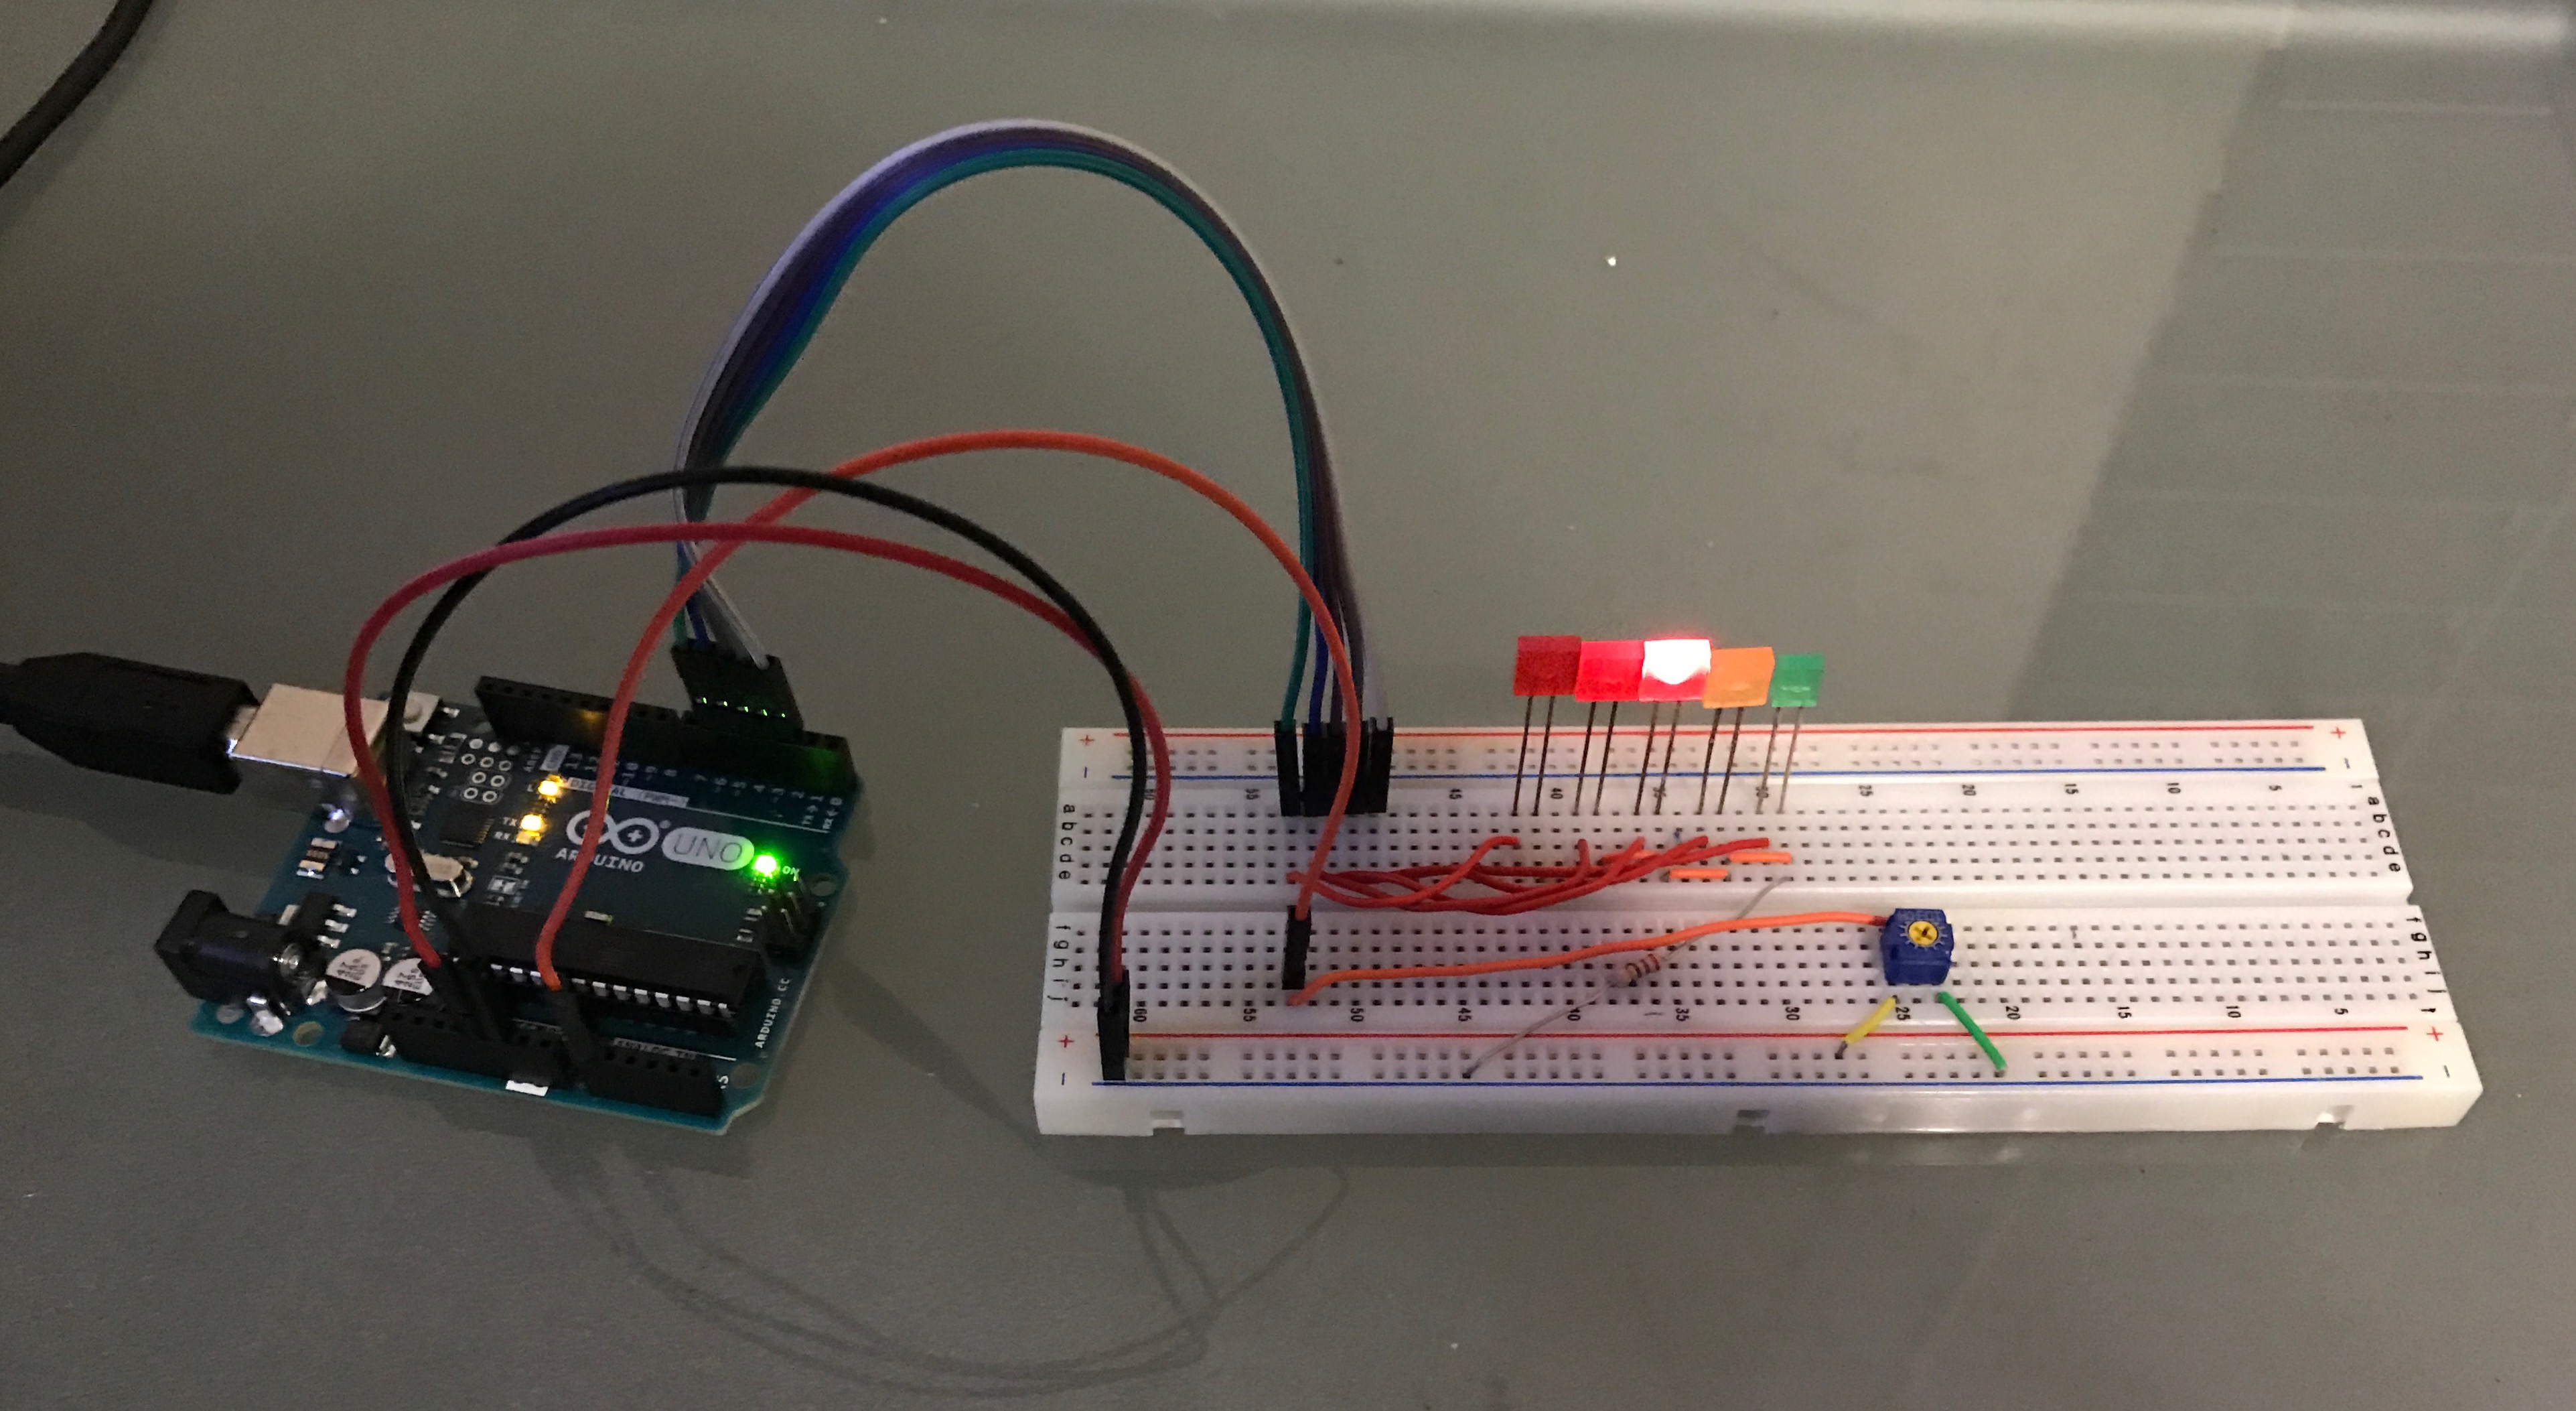
First Arduino Project
Recently I have been looking at Arduinos, and all the exciting possibilities surrounding the platform. One of the things that particularly intrigued me were Internet of Things (IOT) applications such as remote monitoring for things like temperature, humidity, ambient light, air quality, etc. I was also interesting in doing some things with LED RGB light strips, animations, and sound reactive lighthing. One of the videos I found particularly intruging, can be found here: Youtube: Sound reactive led strip 2.0
After doing some research, I ordered two Wemos D1 Mini Pros from aliexpress for $5 each. These chips are based on the ESP8266 chipset, bringing WiFi capabilities to the Arduino. I also ordered some SHT30 Temperature and Humididty sensors. I’ll write a post about these later on, after they arrive. In the meantime, I got sick of waiting for them to arrive from China, so I bought an Arduino Uno from Radioshack. It was a bit overpriced, but I figured it was worth it to be able to begin tinkering sooner.
I didn’t have much in the way of parts on hand. I took a basic electronics class in college, and was able to scrounge up some leftover parts from that. I found 5 LEDs, a potentiometer, a breadboard, a few resistors, and some wires. Not a whole lot to work with. I set out to build the coolest thing I could think of. I wanted to familarize myself with Arduino, the IDE, and refresh my knowledge of basic electronics.
The idea was to build a line of 5 LEDs, and have them scan back and forth. I also had a potentiometer, and thought it would be cool to be able to change the speed of the scanning by adjusting the potentiometer.

The positive LEDs are connected to pins 2 through 6 on the Arduino Uno board, and the negative ends are connected to ground via a 270Ω resistor. The potentiometer is connected to analog pin 0 on the Arduino. I actually have no idea how many homes it is. Seems to work fine though. If you turn the dial clockwise, the scanning slows down. If you turn it counter-clockwise, it speeds up. In code, I set it to be variable from 30 to 200 ms in between light changes.
Here is a video of it in action:
Source Code:
/*
  LED Scanner

  Turns the LEDs on one by one, sweeping back and forth in a scanning pattern

  This code was written for and tested on the Arduino Uno

  This example code is in the public domain.

  December 10, 2016
  Seth Porter
*/

// Analog pin used to read from the potentiometer
const int analogPin = A0;

// The pins used as LED outputs
int ledPins[] = {
  2, 3, 4, 5, 6
};

// Total number of LEDs
const int ledCount = 5;

// Initial value (delay in ms)
int delayValue = 50;

void setup() {
  // Loop through the LEDs, and set them up as digital output pins
  for (int thisLed = 0; thisLed < ledCount; thisLed++) {
    pinMode(ledPins[thisLed], OUTPUT);
  }
}

void loop() {
  // Loop through LEDs in ascending order, turning them on one by one
  for (int thisLed = 0; thisLed < ledCount; thisLed++) {
    resetLights();
    digitalWrite(ledPins[thisLed], HIGH);
    delayValue = speedForAnalogSensor(analogPin);
    delay(delayValue);
  }

  // Descend through LEDs, skipping the last and the first pin as they are already covered in the first loop.
  for (int thisLed = ledCount-2; thisLed > 1; thisLed--) {
    resetLights();
    digitalWrite(ledPins[thisLed], HIGH);
    delayValue = speedForAnalogSensor(analogPin);
    delay(delayValue);
  }
}

// Helper function which turns off all the lights
void resetLights() {
    for (int thisLed = 0; thisLed < ledCount; thisLed++) {
    digitalWrite(ledPins[thisLed], LOW);
  }
}

// Reads an analog pin, and returns a mapped value between 30 and 200.
int speedForAnalogSensor(int pin) {
  int sensorReading = analogRead(pin);
  return map(sensorReading, 0, 1023, 30, 200);
}